Showing posts with label Pigment. Show all posts

Sunday, January 14, 2018

Born Pretty Store Chameleon & Silver Mirror Gradient Powder Review

In this post, I will be reviewing the Chameleon & Silver Mirror Gradient Powder from BornPrettyStore. I have seen a couple videos on YouTube of people doing powder gradients, but I have never tried one. I am excited to see how it goes. Let's take a look at the powders first:
 
When I first saw the darker powder (above), I wasn't sure how things would turn out, but when the powder is directly under the light, it isn't as dark as it first seemed. It has a very prominent green to purple shift in the container.

To start this look off, I painted all my nails with Color Club Where's the Soiree (black) and topped them with Seche Vite. After about 30 minutes, one nail at a time, I painted on a thin coat of BornPrettyStore no-wipe top coat (found here) and cured it. I used the eyeshadow applicator and using one side of it, I started out with the darker green to purple powder. It only takes a tiny bit of powder, and I rubbed it into my nails, only going about half to 2/3 of the way to the tip of my nail. On the rest of my nail, I used the other side of the applicator and rubbed the silver into the tip of my nail, trying to blend it together. I added a coat of top coat, cured it, and did one more coat of the two powders, then sealed it in with one thin coat of top coat and cured it. I repeated the process on the rest of my nails. Here is my final look:
They are so shiny and pretty! I love this way more than I thought I would when I first started!

I actually liked this so much, I decided I didn't want to cover any of it up with nail art. It was absolutely stunning!

Overall, this was so much easier than I originally thought it was going to be. It was a bit overwhelming before I started, but I decided the only way to do it was to just jump right in and start. If I messed up, I could start again and know what I did wrong. But it was sooooo easy! I have had so many compliments on my nails (I wore this powder for a couple days). The chameleon shift is very strong, and I had no issues at all getting the silver to have a shiny mirror-like finish. this powder set is a must-have for anyone. And everyone!!! One thing I noticed was that you don't get much of the silver powder, but it takes so little powder to get full coverage and a mirror finish, it will still last for several manicures. You can find this powder on the BornPrettyStore website here (I showed you color #3, there are 8 colors total). They also have tons of other great nail art supplies. Don't forget to use my coupon code for 10% off any regular priced items.


Until next time,


Born Pretty Store Holographic Chameleon Unicorn Mermaid Nail Powder Review

In this post, I will be reviewing the Holographic Chameleon Unicorn Mermaid Nail Powder from BornPrettyStore. This pigment looks so pretty on the website AND in person. Take a look:
 
It looks so pretty and sparkly. I can't wait to see what it can do!

To start off, I painted my index and pinky fingers with Essie Licorice, and my two middle fingers with OPI Alpine Snow. I topped them all off with a coat of Seche Vite. After about 30 minutes, I knew everything was nice and dry and it was time for the next step. One finger at a time, I put on one coat of BornPrettyStore's no-wipe top coat (found here) and cured it. Then I used the eyeshadow applicator that came with the powder and applied a small amount of powder to my nail, rubbing it in until I was happy with my coverage. I did two coats of no-wipe top coat, followed by powder, and sealed it in with one more thin coat of top coat. Here is what the powder looks like over black and white:
 
 
 I LOVE how the powder looks over white!

As with all the mermaid and unicorn powders I have, I love to see what they do over different colors. For this powder, I chose to use a pretty medium blue. I used three thin coats of Sinful Colors Why Not. I painted my ring finger with two coats of Essie Licorice. I have something special planned for this finger :). I topped them all off with one coat of Seche Vite. Here is how they look at this point:
After 30 minutes, i repeated the process above for all my nails except my ring finger. For that finger, I rubbed a thin coat of the powder over my clear jelly stamper head. Once the head was evenly covered with powder, I used my BornPrettyStore stamping polish in blue (it was a close match to Why Not), and stamping plate Love & Marriage 1 from UberChic Beauty. I painted my stamping polish on the image I chose, scraped the excess away, and using the stamper with the powder rubbed on the head, I picked up the image and stamped it on my ring finger. I waited a minute or two for the image to dry on my nail, I cleaned up the cuticle area, and then i used a dry Q-Tip to try to remove the powder that transferred onto the black where I didn't want it. Once cleaned up, I sealed my design in with one coat of no-wipe top coat. Here is my final look:
 
I love this! It is so pretty!

Overall, I am completely in love with this powder! You can do so much with it! It was easy to work with, and is absolutely beautiful. If you like holo, or if you like unicorn or mermaid powders (or if you have never tried them), this powder is highly recommended!! You can find this powder on the BornPrettyStore website here (I showed you color #1, there are 6 colors total). They also have tons of other great nail art supplies. Don't forget to use my coupon code for 10% off any regular priced items.


Until next time,


Born Pretty Store Purple Holographic Pigment Powder Review

In this post, I will be reviewing the Purple Holographic Pigment Powder from BornPrettyStore. This powder looks so pretty, and I love all things holo! Let's jump right into it:
 
As with all their powders, it comes with an eyeshadow applicator
 
 
Ooh, look at all the holo! I can't wait to see what this looks like on my nails!

To start off, I painted all my nails with Essie Licorice and topped them off with Seche Vite. After about 30 minutes, I was sure my nail polish was dry all the way through, and it was time to see the magic happen. I painted on one coat of my favorite no-wipe gel top coat (it is from BornPretty, and you can find it here), and cured it. Before I go any further, I have to mention that if you have tried to use these powders with no-wipe top coat and are using a battery operated UV or LED light, you may have experienced some frustrations. I know I did. I just recently switched to a plug in light, and every single frustration is gone. My light made a world of difference, so if you don't have a plug in light, definitely invest in one!!!! Anyway, I used the eyeshadow application, and just a very small amount of powder. I rubbed it into my nails, doing the top coat and powder one nail at a time. I did 2 coats of top coat and powder on each nail, and sealed it in with one last coat of top coat. Here is how they look now:
 
Look at that rainbow!!!!

I also wanted to see what it would look like over a purple polish. I used Sinful Colors Mesmerize, topped with Seche Vite. After 30 minutes, I repeated the process above, one nail at a time. 
Here is how it looks over a dark purple:
I don't really see much difference, but I think my purple was too dark. I also don't know why the holo didn't show up on my middle finger in the picture, because it was very strong in person.

Overall, I love this holographic powder. The holo is super strong and it went on very smooth. This powder was very easy to work with. It doesn't take much powder at all to get full coverage on your nails. If you love powder pigments, holographic, or both, you should definitely get this powder! It is so worth it!! You can find this powder on the BornPrettyStore website here. They also have tons of other great nail art supplies. Don't forget to use my coupon code for 10% off any regular priced items.


Until next time,


Thursday, October 12, 2017

Born Pretty Store Holographic Chameleon Peacock Mirror Nail Powder Review

In this post, I will be reviewing the Holographic Chameleon Peacock Mirror Nail Powder from BornPrettyStore. I was immediately drawn to this powder because, HOLO!! I am so addicted to everything holographic, and I am loving all these awesome powders. I can't wait any longer, we need to see this magic:
 So far, I can see the chameleon effect, but I don't see the holo. We need to open it up!

 It is very pretty, but it HAS to be magic because I don't see the holo yet.

Since this is a darker powder, I didn't test it over different colors. I went straight for black. To start off, I painted my nails with two coats of Wet n Wild Black Creme and topped them off with one coat of Seche Vite. I have tried black gel polish and I just don't like it as much as regular polish. I don't know what I did wrong, but every time I try it, as soon as I use my No Wipe top coat and cure it, my black gel wrinkles. Anyway, I waited at least 10 minutes after I applied my Seche Vite, to make sure my polish was nice and dry throughout. Then, one nail at a time, I applied a coat of No Wipe gel top coat and cured it. Once cured, I wipe my nail with rubbing alcohol (I don't know why, but that seems to be the trick for me to get the mirror effect). Using the eyeshadow applicator that came with the powder, I get just a small bit of powder on the applicator and rub it into the No Wipe top coat. The less you use, the better the mirror effect! Once I was happy with my coverage, I repeated the above steps to apply one more coat of powder on the nail, and top it with gel top coat and cure it. Then repeat all the steps for the next nail, and so on. It was pretty overcast outside, and I was struggling to get some good pictures with the holo in all its glory.
 
 In this picture, you can see the effect on my pinkie the best
(When you look at the nail, the spot you are looking just looks mirror, and around the sides of the mirror look you will see the intense holo)

This holo is so intense and amazing, I think my camera was also having a hard time with all the color :)

I noticed that my ring finger had a slightly patchy look to it at certain angles, but nothing a bit of stamping can't fix! Haha!! I decided to use Born Pretty Store plate BP-L011, which you can find here. I stamped with Mundo de Unas  #12 Cream. Then I sealed the design in with one coat of Seche Vite. Here is my final look:


I chose this part of the image because the big flower is pretty open so you can still see quite a bit of the powder underneath.

Overall, I absolutely LOVE this powder! It comes in 8 different colors and would definitely be worth buying in all of your favorites! The container seems like it doesn't have much powder in it, but it only takes a tiny bit. You have plenty of powder to get several uses out of it. I can't say anything bad about this powder. At all. If you like powders, chameleon, and holo, this is a MUST HAVE! You can find this powder on the BornPrettyStore website here. They also have tons of other great nail art supplies. Don't forget to use my coupon code for 10% off any regular priced items. 


Until next time,


Monday, July 17, 2017

Born Pretty Store Chameleon Holographic Flakes Powder Laser Nail Flakies Review

In this post, I will be reviewing some Chameleon Holographic Flake Powder from BornPrettyStore. I love flakes and I love holographic nails, so I couldn't pass this one up. Let's take a look:
This pot also came with an eye shadow applicator. This powder looks like a regular holographic powder from the bottom of the pot. I couldn't wait to open it and see what it looks like:
These flakes look interesting. I am intrigued! I couldn't wait to get them on my nails!!!

Let's get started! First, I painted my nails with 2 coats of Wet n Wild Black Creme, and topped it off with Seche Vite. Once I was sure they were dry, it was time for the magic to happen. Doing one nail at a time, I painted a coat of No Wipe Top Coat and cured it. I decided to use my silicone brush instead of the eye shadow applicator. I got mine on eBay, but you can find one similar on the BornPrettyStore website, here. Mine is like style #3. I dipped the tip of the silicone brush in the flakes, and rubbed it into the No Wipe Top Coat. It took a couple nails to get the hang of it, and ended up re-doing a couple of my nails once I figured out how much powder I needed and how much to rub. Once all my nails had the powder applied, I finished them off with one more coat of gel top coat. Here is how it looks at this point:
Inside, under my OttLite

Outside, in direct sun

Macro shot, inside under my OttLite

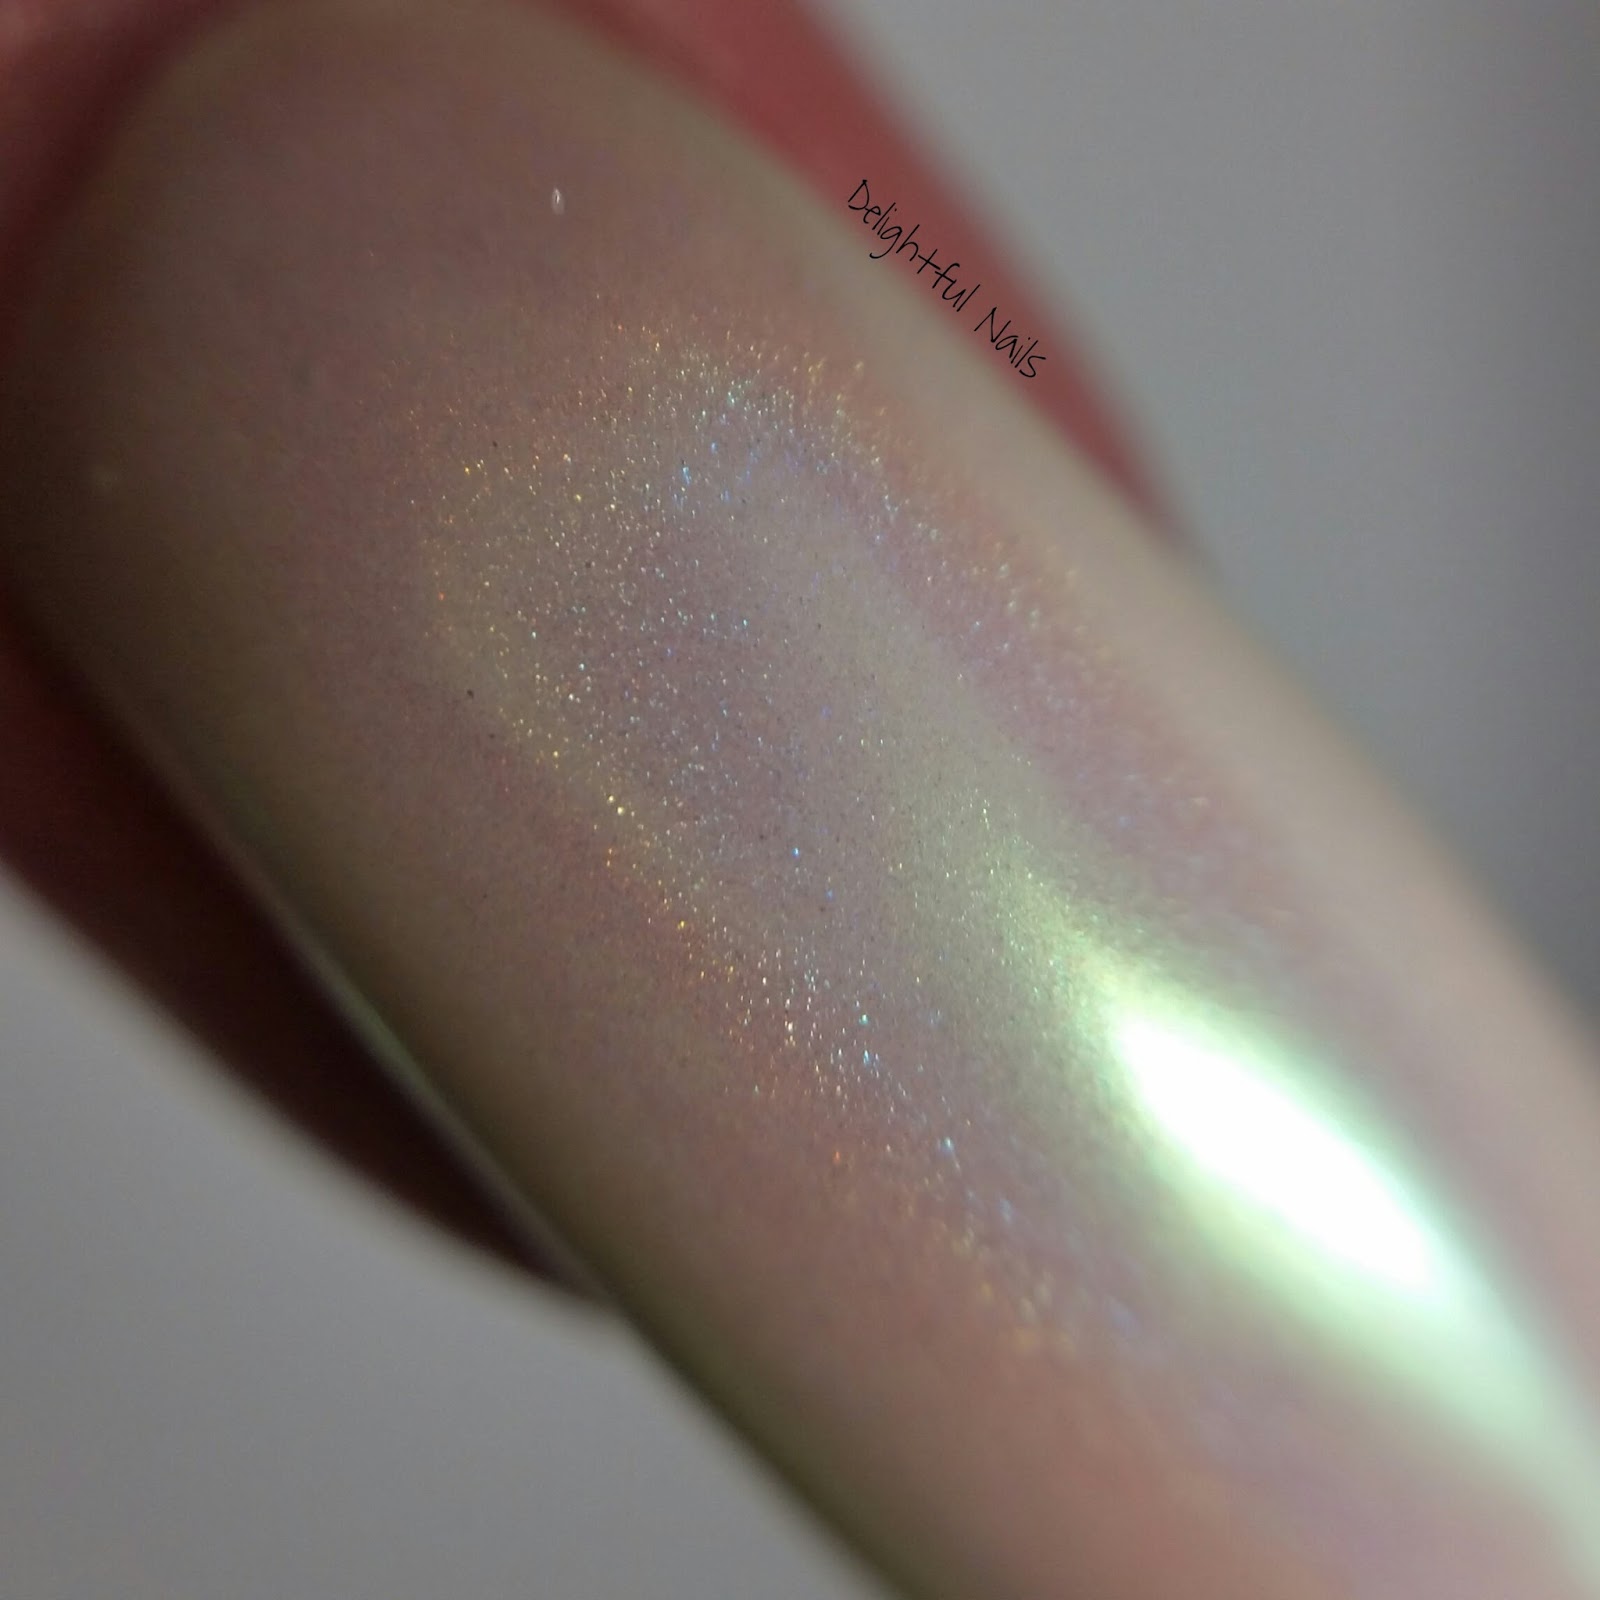
WOW! I am in love with these powder flakes! I wish the holo would have showed up on camera a bit more, but it is definitely there and noticeable in person. I decided to stamp some tropical-looking flowers over this polish on my ring finger. I used Moyou London stamping plate Mother Nature 11, and stamped with Mundo de Unas stamping polish in Mexican Pink. I finished that nail off with one more coat of gel top coat.
 
 
Overall, this is a great powder! I love the color, I love the holo, and I love how easy it is to work with.Once you get the hang of it, these flakes are so much fun! I can't wait to use it again! If you are a holo fan, you definitely need to check out these powder flakes. They come in 6 different colors (I chose #2). You can find these flakes on the BornPrettyStore website, here. They also have tons of other great nail art supplies. Don't forget to use my coupon code for 10% off any regular priced items.


Until next time,