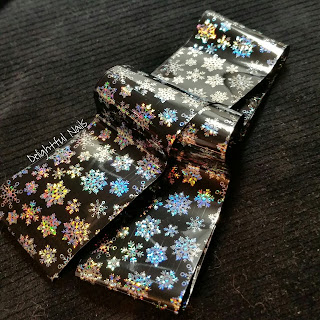
I was surprised at how much foil you get in this little container! This is enough to do tons of designs.
Here is what I came up with:
For my base, I used one coat of Funky Fingers Dark Knight. I topped that off with a quick dry top coat. On my pinky finger, I used 3 coats of Avon Sparkling Sky. Before putting on the foil, I applied a thin coat of my sticky base coat so the foil had something to adhere to.
A macro shot:
I found it easier to cut each individual snowflake out, and apply them separately. When I applied them in one sheet, I found that I had too many wrinkles in the foil. I think it is because my nails are so curved. This was also my first experience with foil, so with a little more practice, I might be able to figure out how to work out those wrinkles.
This foil was very easy to work with. It was super easy to apply. I waited until my sticky base coat was nearly dry, placed the foil where I wanted it, and used an orange stick to press it down. Then I used my tweezers to peel up the plastic layer the foil is on. I love how sparkly this foil is! The only thing I noticed about it that I should mention is, top coat dulls the holo effect. The snowflakes just look metallic (take a look at my index finger in the picture above).
Overall, I love these snowflakes, and I can't wait to wear them again! You can find this foil on the BornPrettyStore website here. They also have tons of other great nail art supplies. Don't forget to use my coupon code for 10% off any regular priced items: PCX31
Until next time,


No comments:
Post a Comment